Farmers Market Booth Setup: A Simple First-Market Plan
Plan a farmers market booth setup with a clear customer path, useful signs, a tested payment point, and a short opening checklist.
By Small Business Bundle by Cosmo Suite · Editorial policy
Published · 8 min read
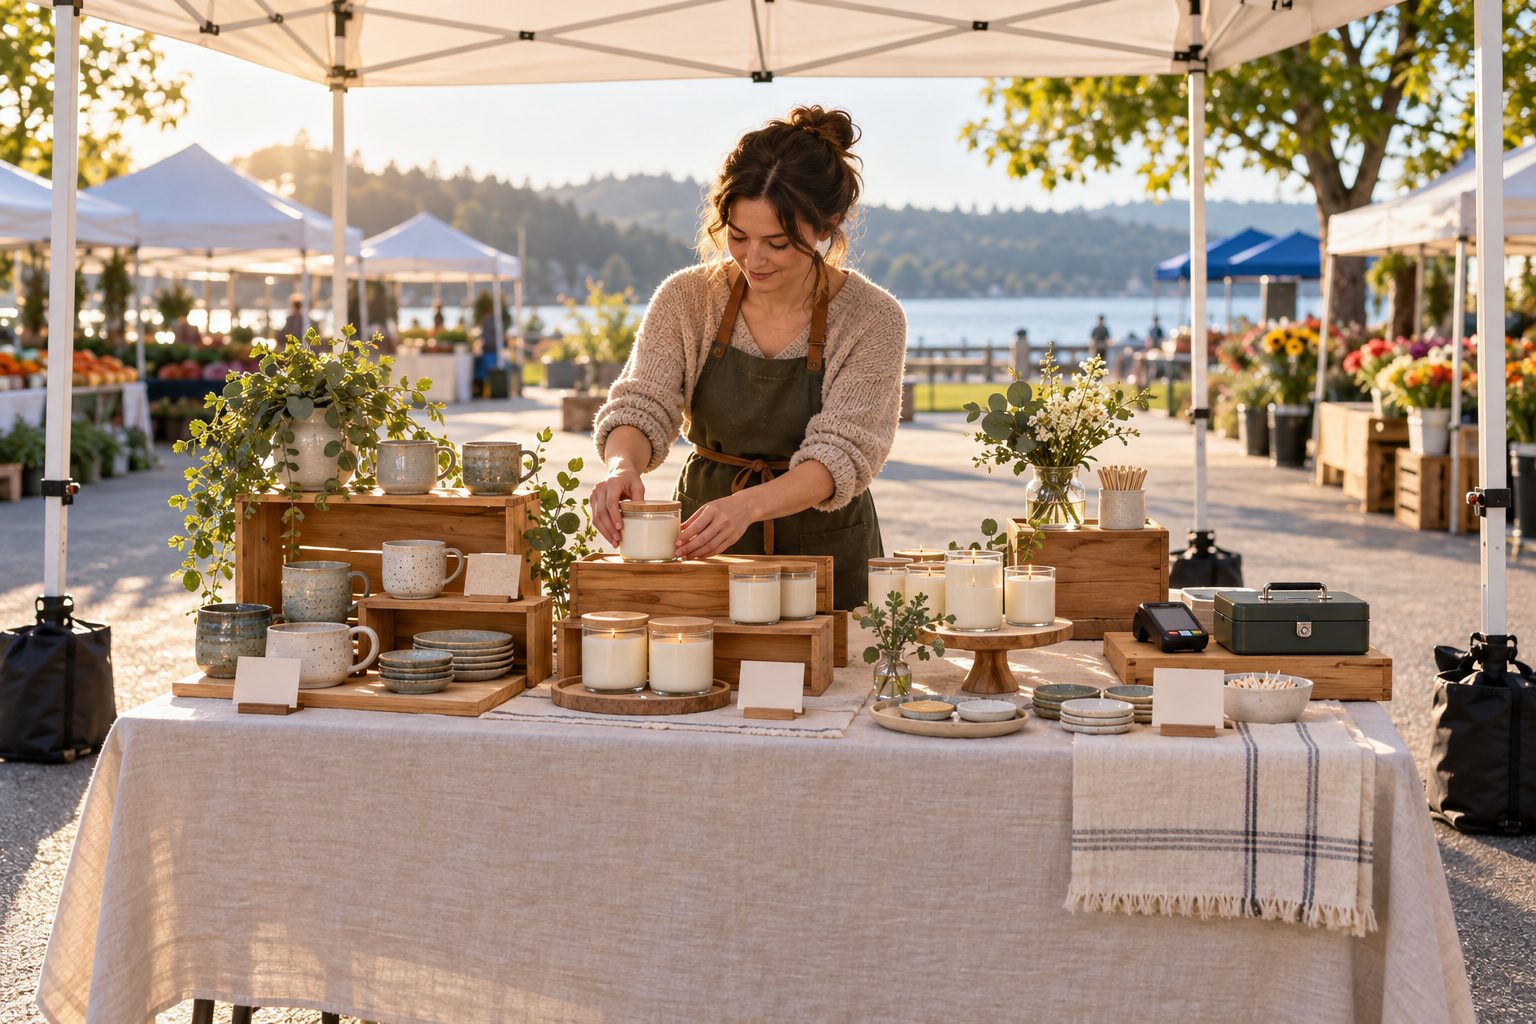
A useful farmers market booth setup makes three things easy to see: what you sell, what it costs, and where customers pay. Sketch the space before the event, check the organizer's rules, and place the display, signs, and payment point so they work together.
General information. Check local rules for permits, labels and product safety.
Keep the first setup simple. Fit the assigned space, leave a clear customer path, and put checkout within reach. The plan below gives you a repeatable way to place each part.
In Short: Ask the organizer what the space includes. Sketch the booth from the shopper's side. Mark the display, signs, checkout, and working area. Test your payment method. Secure any canopy and keep access paths clear.
A farmers market booth setup at a glance
Start with a small layout you can explain in one glance. Put the main display where shoppers can see it, keep a clear browsing edge, and place payment within easy reach of your working area. This example is a planning sketch, not a standard stall size or a market requirement.
| Booth zone | What it does | Setup check |
|---|---|---|
| Approach | Shows shoppers where to look or enter | Keep the front open and clear |
| Main display | Groups the products for browsing | Use stable surfaces and visible labels |
| Product signs | Name items and show prices | Match each sign to the item or group |
| Checkout | Supports the payment methods you accept | Test the device and keep a record backup |
| Vendor work area | Holds bags, tools, and personal supplies | Keep it behind or beside the display |
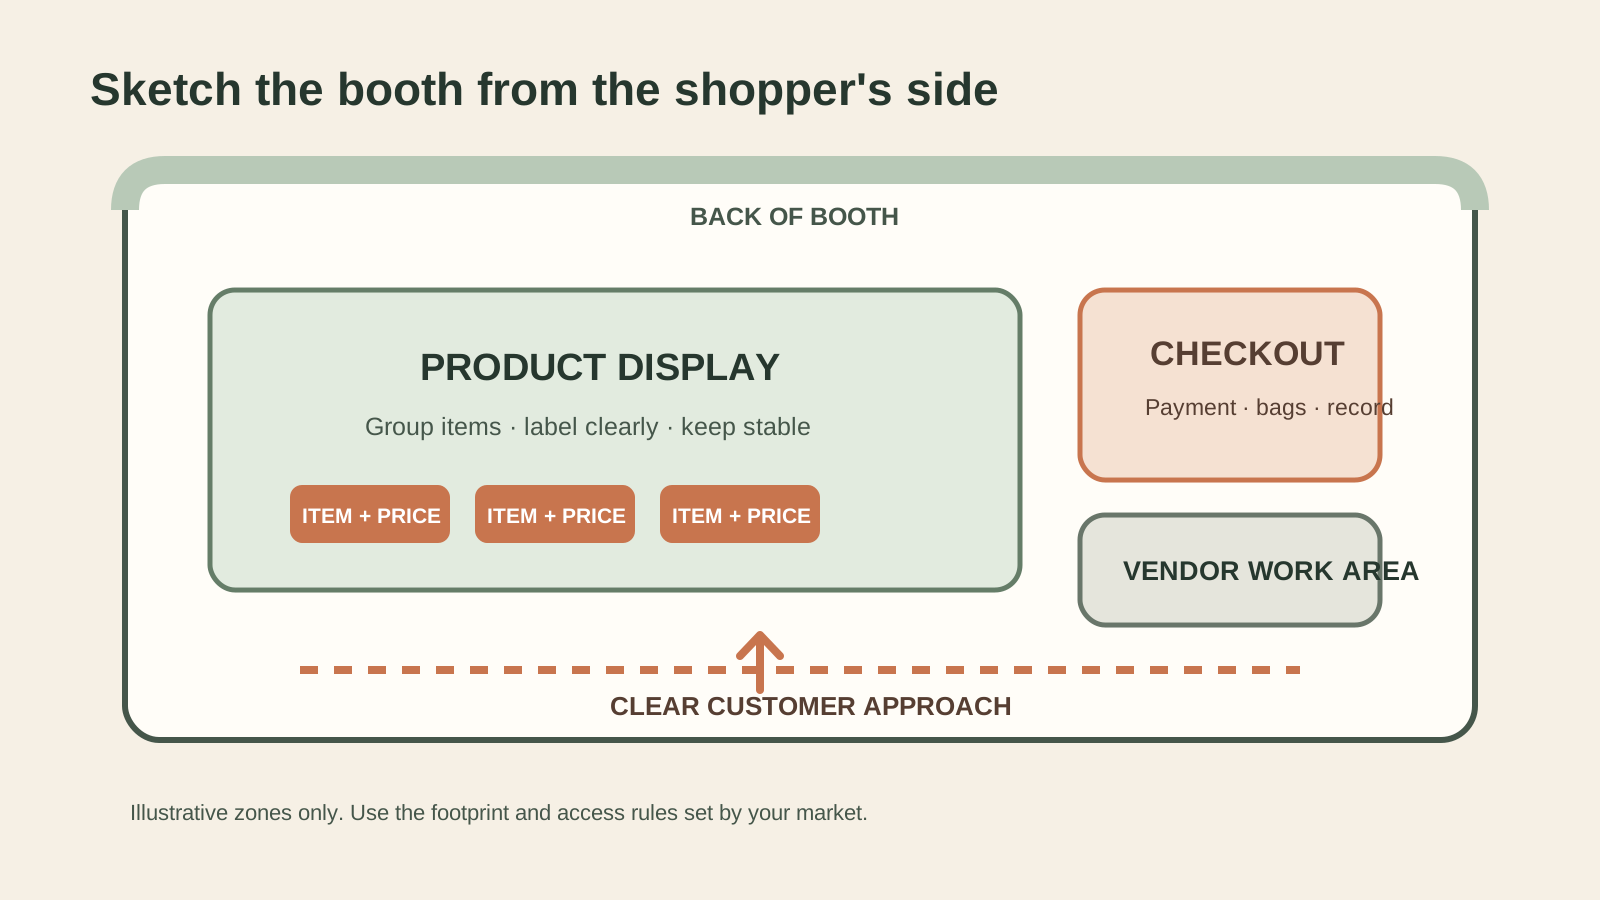
Picture the layout from the aisle, then walk through the steps a customer would take: notice the booth, see an item and its price, browse without squeezing past a box, and find the payment point. If your setup makes one of those steps unclear, move a sign or table before market day.
Confirm the market's rules before you pack
Your organizer's handbook is the source for the assigned space, setup time, allowed products, canopy rules, shared payment programs, and any sign restrictions. Confirm those details before buying equipment or printing signs. A checklist from another market can help you prepare questions, but it cannot replace the event's current rules.
The Maine Federation of Farmers' Markets' outdoor vendor checklist recommends checking paperwork, market currencies, product restrictions, display access, prices, and sales records with the market. Penn State Extension's Farmers Market Checklist, updated January 16, 2026, also groups setup needs such as tent weights, price signage, visible payment options, and clean display tables.
Before packing, ask the organizer:
- What is included in the booth space, and what must I bring?
- When may I arrive, and when must setup be complete?
- What products, signs, payment methods, or sampling are allowed?
- Does the market use tokens, vouchers, or another shared payment program?
- What must I do if weather changes during setup or the event?
Requirements can depend on the product and location. Check the organizer's current instructions and the relevant local authority for permits, labels, and food safety. This article does not give rules for a particular state or product category.
Arrange the display from the shopper's side
The display should help a person understand the items without having to move your supplies. Group related products, keep fragile items stable, and use a small riser or crate only when it makes the items easier to see. Leave a clear place to pause and browse. The organizer may set rules for aisles, accessibility, table placement, or customer flow, so build around those first.
Mississippi State University Extension's guide to farmers market displays for young entrepreneurs recommends a clean table cover, display containers, and signs that identify products and prices. Use the idea that fits your goods. A candle maker may group by scent; a potter may group by form or glaze. Keep props secondary to the items for sale.
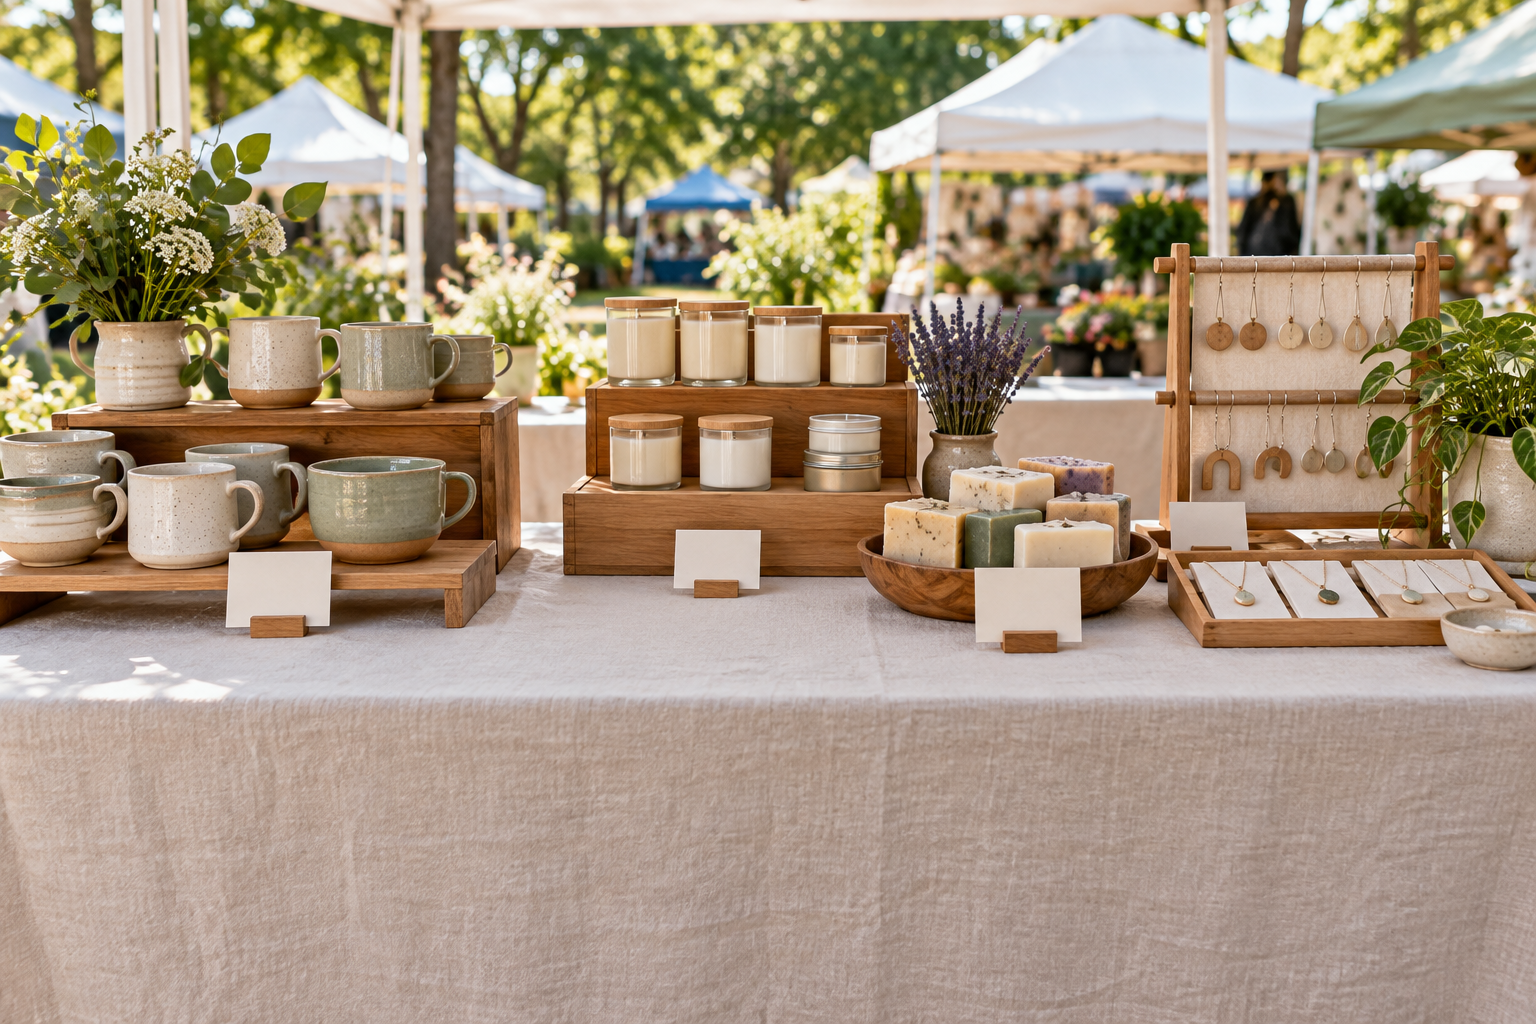
Try the shopper view before the event. Stand a few paces away and check whether the main sign is visible, then walk closer and see whether the item labels answer the next question. If a customer must reach over a display to read a sign, move the sign closer to the related item.
Do not treat the display as a stock forecast. This guide covers how to arrange the booth, not how much inventory to bring. Use your own order history, production limits, and market guidance to decide what you can take.
Make signs answer the first questions
Good signs reduce guesswork. A main sign identifies your business and what you make. Smaller signs tell shoppers the product name and price, then add a unit or option when that detail changes what they are choosing. Use plain wording you can support, and check the market's rules before describing origin, ingredients, or production claims.
The Penn State Extension checklist includes pricing signs. Washington State Farmers Market Association guidance on vendor signage asks whether booth identity, product names, and prices are easy to see. That is a useful final check, even if your event uses its own sign standards.
Write each sign so it can be understood on its own. For example:
| Sign part | Example for a fictional maker | Check |
|---|---|---|
| Product | Hand-poured candle | Does it name the item plainly? |
| Choice | Cedar or citrus | Can shoppers tell the options apart? |
| Price | Your actual current price | Does it match the item and unit? |
| Detail | Jar size or care note, if relevant | Is the claim accurate and allowed? |
The sample wording is illustrative, not product or price guidance. Keep lettering large enough to read from the aisle, secure paper against wind, and place signs where they do not block a path or neighboring stall. If a question comes up more than once, consider whether a small sign can answer it clearly.
Set up a simple cash and payment point
Choose payment methods you can support and check the market's process before the event. Test your card reader or other device, charge the phone or tablet it needs, and confirm that you can access the account. If you accept cash, prepare a secure way to hold it and a record of the opening amount. The amount of change depends on your prices and your own process; there is no universal float for every seller.
Some markets offer tokens or vouchers. Ask where customers get them, how you accept them, and how you record or redeem them. The Washington State Farmers Market Association's vendor resources describe vendor-run card devices and market tokens as options in its member markets. Those practices vary by event, so follow your organizer's instructions.
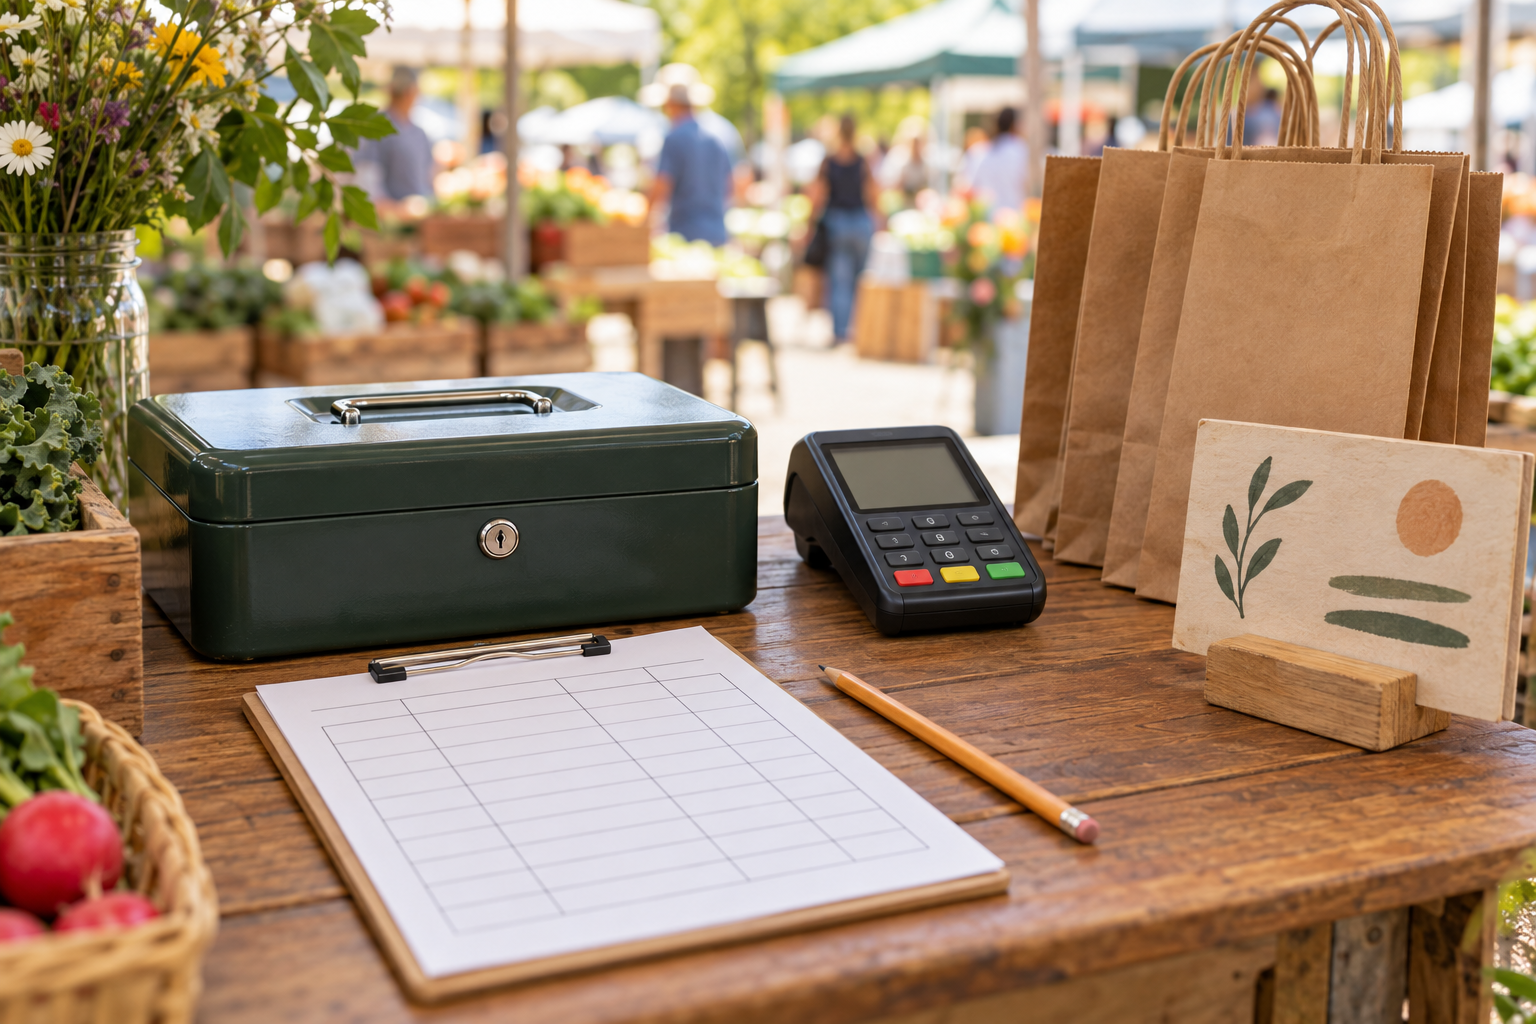
Keep the payment point easy to find but out of the browsing path. Place bags and packaging where you can reach them after payment. Have a simple backup record for a device or connection problem, such as a paper tally that you can reconcile against the payment source later. Record sales and payment totals from the records you actually have; do not estimate them from memory at closing.
Check safety, access, and product care
Secure a canopy or display according to the market's current rules, including setup and breakdown. Keep weights, straps, and cords from creating trip hazards. Leave the route around your booth clear, and check that displays cannot tip toward customers.
The Washington State Farmers Market Association's Canopy Safety 101, published in February 2020, explains the canopy requirements used by its member markets. It advises securing canopies and positioning weights to avoid trip hazards. Its specific requirements apply to those markets; ask your own organizer what applies at your event.
Products can need different care. Food, plants, candles, and other goods may have different storage, packaging, labeling, or sampling needs. The Maine Federation's checklist calls out weather protection, product labeling, temperature handling, and safe canopy setup. Use the guidance for your product and location, and ask the organizer or appropriate local authority when a requirement is unclear.
Use a short opening and closeout routine
Use one routine before opening and another at closing. The Maine Federation checklist recommends planning a display, marking prices, checking the point of sale, and preparing a system to record market activity.
Before opening, walk through this sequence:
- Check that the booth matches the assigned space and the current market rules.
- Make sure the display is stable and the shopper route is open.
- Match each price sign to the right product or group.
- Test the payment method and place the backup record within reach.
- Put bags and working supplies where you can reach them without blocking customers.
After closing, record the totals from your payment and sales records. Note which signs prompted questions, which part of setup took longest, and any change you would make to the layout. A quick sketch or photo from the aisle can help you rebuild the booth next time. Do not use a busy day as proof that a layout will always perform the same way; market conditions and customers change.
For the wider event plan, read our guide to selling at a holiday craft fair. If you sell through more than one channel, our wholesale versus retail price guide explains why the same item may need different prices in different channels.
Why Trust This Article
We checked the market setup and safety guidance on October 31, 2026. The sources include Penn State Extension, Mississippi State University Extension, the Maine Federation of Farmers' Markets, and the Washington State Farmers Market Association. Their checklists describe their own guidance and markets; they do not set one rule for every event. The booth map and examples here are illustrative planning aids, not observations from a tested vendor booth.
How Small Business Bundle Handles This
Small Business Bundle includes an Order & Customer Tracker among its four spreadsheets and 25+ tabs. That can support general order and customer records around your business. It is not a market layout planner, point-of-sale system, inventory manager, or permit guide.
If you are also organizing the paperwork behind your business, review the Small Business Bundle contents to see whether its spreadsheets fit your needs. After an event, use the records from the payment service and your own sales notes as the source for any entries you keep. Small Business Bundle does not process transactions or track booth inventory.
Frequently asked questions
What should I include in a farmers market booth setup?
Start with the items your market requires, then plan a stable display, clear product and price signs, a way to accept the payment types you offer, bags or packaging, and a simple sales record. The exact setup depends on the market, your products, and the space assigned to you.
How should I arrange a small farmers market booth?
Sketch the space from the shopper's view. Keep the products easy to see, leave a clear path to browse, place signs near the items they describe, and put the payment point where customers can find it without crossing your work area. Follow the market's layout and access rules.
What signs do I need for a farmers market?
Use a main sign that identifies your business and clear signs that name products and show prices. Add details such as size, unit, or options when shoppers need them to understand the offer. Check the market's sign rules and any product-specific labeling requirements.
How do I prepare payment for a farmers market?
Check which payment methods the market supports, test your own device and account before leaving, and decide how you will record each transaction if a connection fails. If the market uses tokens or another shared payment program, ask the organizer how to accept and reconcile them.
Do I need a canopy for a farmers market?
Some markets provide shelter and others set requirements for vendor canopies. Ask the organizer what is allowed, how it must be anchored, and whether setup and breakdown rules differ. Keep anchors and cords out of customer paths.
How can I make my market booth easier to set up next time?
After the event, sketch or photograph the layout, note which signs or tools you needed, and record changes while they are fresh. Keep a short packing list with the layout so you can repeat what worked and revise what did not.
Sources
- Penn State Extension: Farmers Market Checklist
- Mississippi State University Extension: Farmers Market Displays for Young Entrepreneurs
- Maine Federation of Farmers' Markets: Be Prepared, Vendor Checklist for Outdoor Farmers' Market Season
- Washington State Farmers Market Association: Canopy Safety 101
- Washington State Farmers Market Association: Vendor Resources
- Washington State Farmers Market Association: Guide to Fresh Produce Signage Standards and Organic Integrity